
Getting your first website approved for publishing on Snipesearch Adclicks is a crucial step toward monetizing your online content. While the platform is straightforward, it’s important to follow each step carefully to ensure quick approval and optimal performance. This guide will walk you through the process, providing detailed instructions, best practices, and visual cues to help you add your site efficiently and effectively.
Step 1: Access the Sites Menu
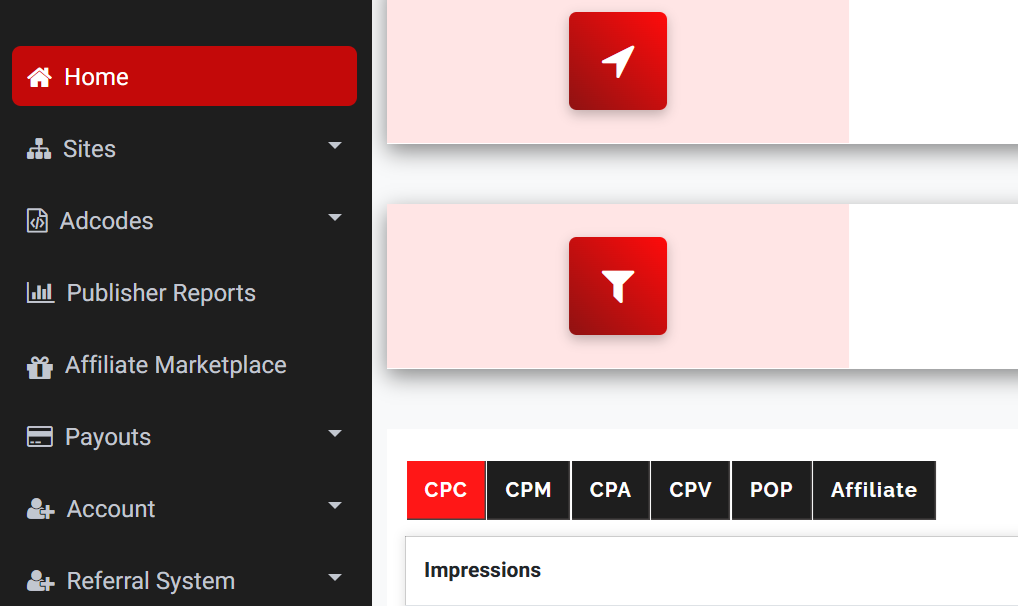
The first step in adding your site is navigating to the appropriate section within the Adclicks platform. After logging into your account:
- Look for the left-hand menu on your dashboard.
- Click the Sites option in the navigation panel.
This will show a menu where you can view all the sites you’ve previously added (if any) and begin the process of adding a new one, and review reports. This menu is designed to give you an overview of your sites and their approval status.
Step 2: Click “Add Site”
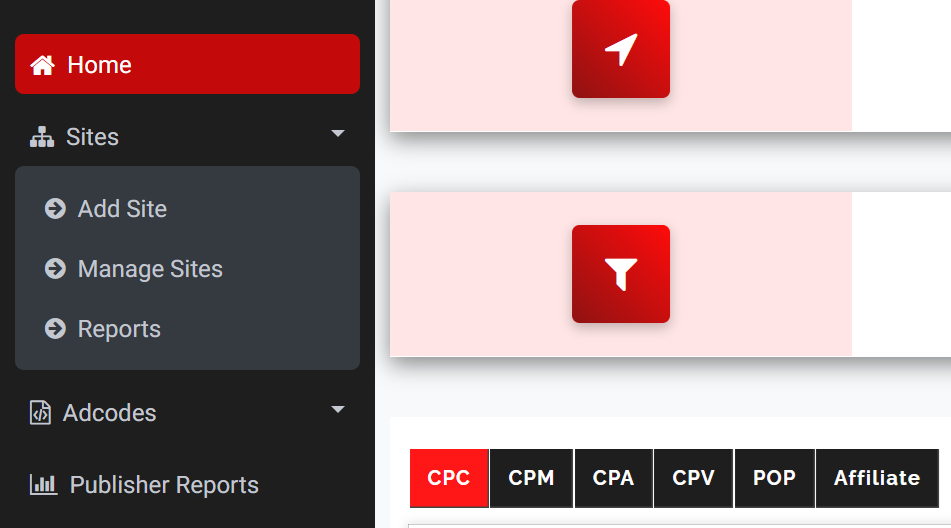
Once you’re in the Sites section:
- Locate the Add Site button in the menu that opens.
- Click it to begin the site submission process.
This button opens a new page where you can fill in all the essential details about your website.
Step 3: Fill in Your Site Details
On the submission form, you will need to provide several pieces of information about your website. These fields are critical for approval and future monetization.
3.1 Site URL
Enter the full URL of your website. Important rules:
- Do not include a trailing slash (
/). - Ensure your URL is valid and currently accessible to the public.
Example: https://www.yourwebsite.com (not https://www.yourwebsite.com/)
3.2 Site Title
Provide a concise title for your site. Important points:
- Use no spaces; replace spaces with hyphens or underscores if necessary.
- This title is primarily used internally to identify your site within your dashboard.
Example: my_first_blog or tech_review_hub
3.3 Keyphrases and Description
You’ll also need to enter:
- Keyphrases: These are keywords or short phrases relevant to your site. They help categorize your site and match your content with appropriate ads.
- Description: A short summary of your site’s purpose and content. Keep it clear and professional.

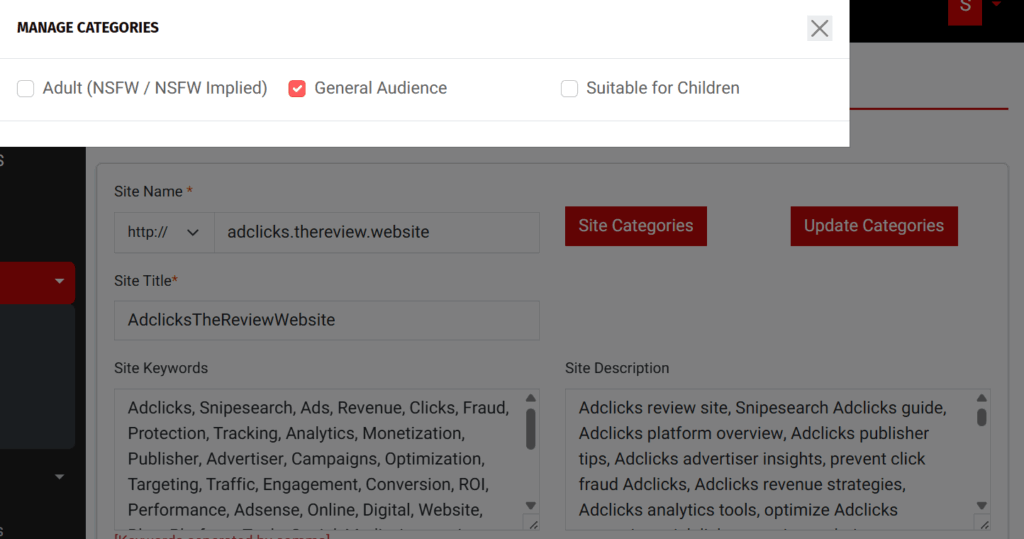
Step 4: Choose a Site Category
Snipesearch Adclicks requires you to categorize your site appropriately. The categories are:
- Adult (NSFW / NSFW Implied)
Use this only for content clearly intended for adults. Misclassification can result in rejection. - General Audience
Suitable for sites with content for a standard, unrestricted audience. - Suitable for Children
Only choose this if your content is fully appropriate for children. NSFW content in this category is strictly prohibited.
Carefully selecting the category is essential, as it impacts the types of ads displayed on your site and your approval process.
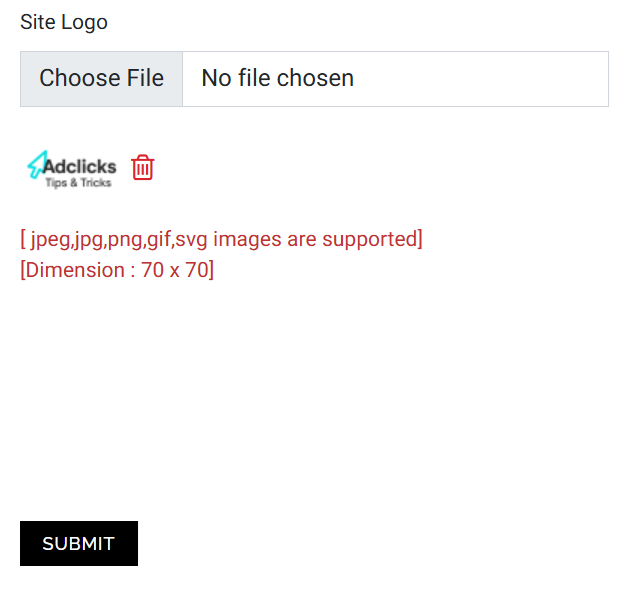
Step 5: Upload Your Site Logo
A site logo is required to visually represent your website. It helps administrators quickly identify your brand and is used in various reports and dashboards.
Guidelines for uploading your logo:
- Preferred formats: PNG or JPEG
- Ensure your logo is professional and accurately represents your site.
Step 6: Add a Screenshot of Your Site
Providing a screenshot allows the admin team to verify the content of your site. This step is critical to prevent click farms and ensure compliance with Adclicks policies.
6.1 How to Capture a Screenshot
- Use a site screenshot tool like https://www.site-shot.com/ to capture any page from your website.
- Recommended resolution: 1280×1024 for clarity.
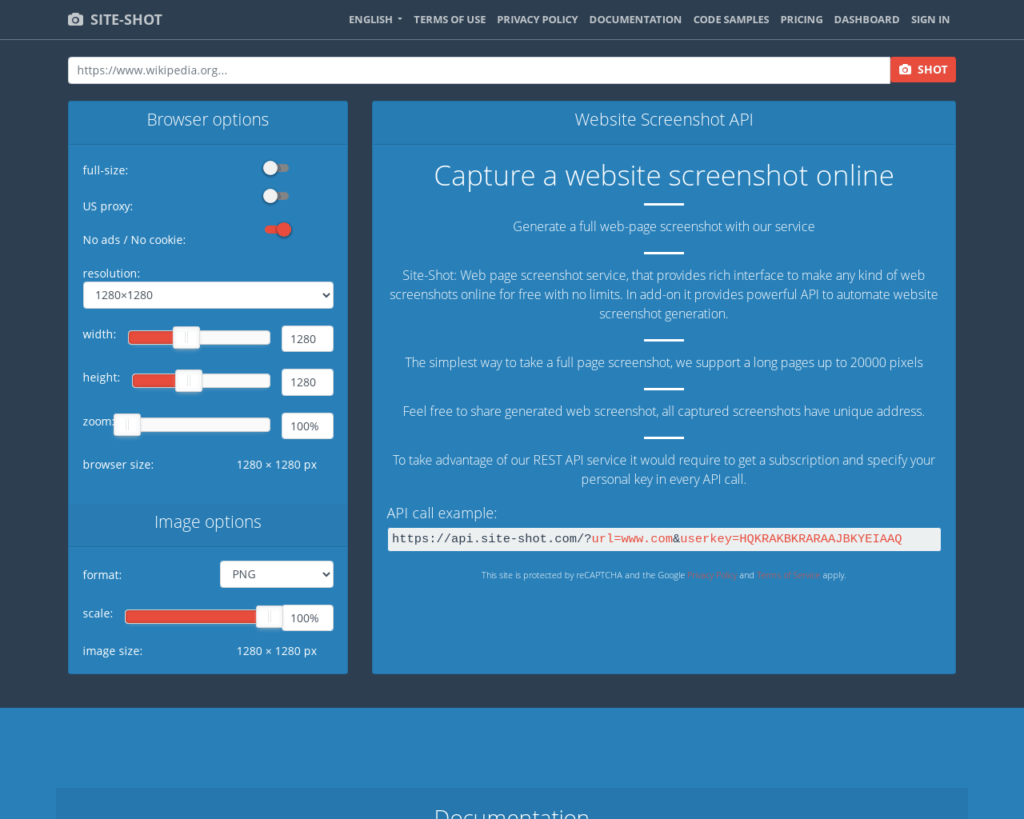
6.2 Tips for Choosing a Page
- Pick a page that represents your site’s main content or highest-traffic area.
- Avoid temporary landing pages or pages with excessive ads.
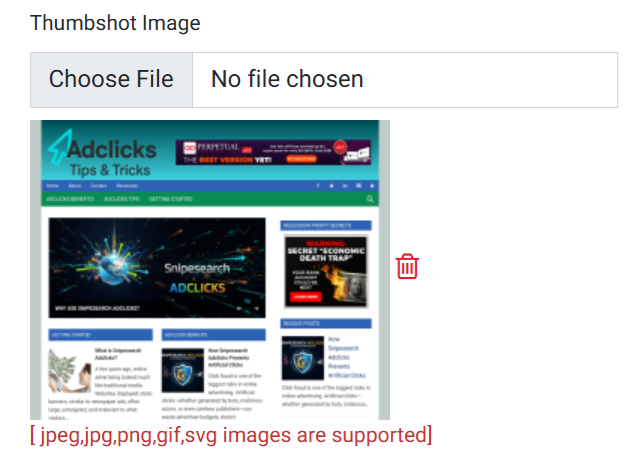
INSERT IMAGE HERE – Include a sample screenshot placeholder showing how a page from a blog or e-commerce site could look.
6.3 Upload the Screenshot
After downloading your image:
- Click the upload button on the submission form.
- Ensure the image displays correctly in the preview window.
Step 7: Submit Your Site
Once all fields are completed:
- Review the information for accuracy.
- Click Submit to send your site for approval.
Important Note on Approval Process:
- Approval typically takes up to 72 hours.
- The process is manual to prevent click farms and fraudulent submissions.
- Administrators do not judge your niche content or traffic level unless the site violates rules.
7.1 Common Reasons for Rejection
- NSFW content incorrectly categorized as “Suitable for Children”
- Sites with more than 40% adspace
- Inaccessible or broken URLs
Understanding the Manual Review Process
Snipesearch Adclicks’ manual review ensures a trustworthy network for both publishers and advertisers. Administrators will:
- Verify the URL and content
- Ensure ad placement follows guidelines
- Check for compliance with category selection
Best Practices for Your First Site Submission
To increase your chances of approval and maximize future revenue:
8.1 Optimize Your Site
- Reduce excessive ads (less than 40% of visible page space).
- Maintain high-quality content and avoid duplicate pages.
- Ensure navigation is intuitive.
8.2 Use a Clear Logo and Screenshot
- Professional logos and representative screenshots signal credibility.
- Avoid screenshots with sensitive information or temporary promotions.
8.3 Categorize Accurately
- Mislabeling your site can cause rejection.
- Be honest about the audience your site serves.
8.4 Test Your URL
- Make sure your site is publicly accessible.
- Check that all pages load correctly and no error messages appear.
After Submission: What to Expect
9.1 Admin Review Timeline
- Admins typically review sites within 72 hours.
- You will receive an email notification once the review is complete.
9.2 Next Steps
- Approved sites will appear in your dashboard with a status of Active.
- You can then start placing Adclicks ad units on your site.
FAQs About Adding Your First Site
Q1: Can I submit multiple sites at once?
- Each site must be submitted individually.
- Bulk submissions are not supported.
Q2: What if my site is rejected?
- Check the reason provided by the admin.
- Correct any issues and resubmit.
Q3: Are there restrictions on content?
- Sites must be legal and have less than 40% adspace.
- NSFW content must be correctly categorized.
Summary
Adding your first site to Snipesearch Adclicks is simple if you follow the steps carefully:
- Click Sites in the left-hand menu.
- Click Add Site.
- Fill in the site URL, title, keyphrases, and description.
- Select the appropriate category.
- Upload your site logo.
- Add a screenshot of a representative page.
- Submit and wait for admin approval.
By following these instructions, you ensure your site is compliant, visually appealing, and ready to generate revenue through Adclicks.
Links and Resources
- Snipesearch Adclicks Official Website – Full platform overview and account setup: https://adclick.snipesearch.co.uk/
- Snipesocial Community – Discuss best practices with other publishers and advertisers: https://www.snipesocial.co.uk/pages/snipesearch
- Snipesearch Fraud Prevention – Protect your ads and revenue: https://support.snipesearch.co.uk/